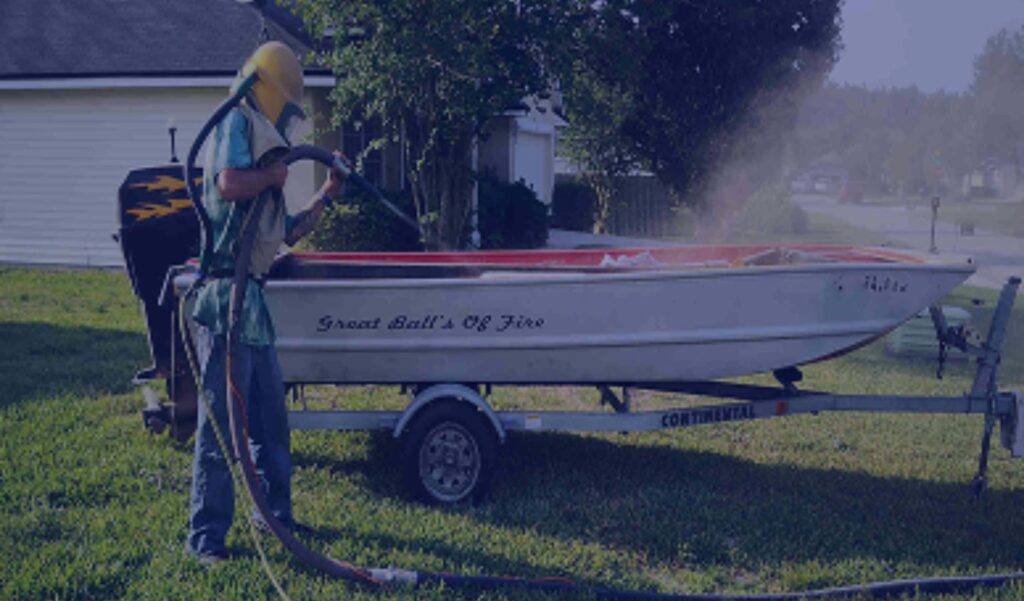
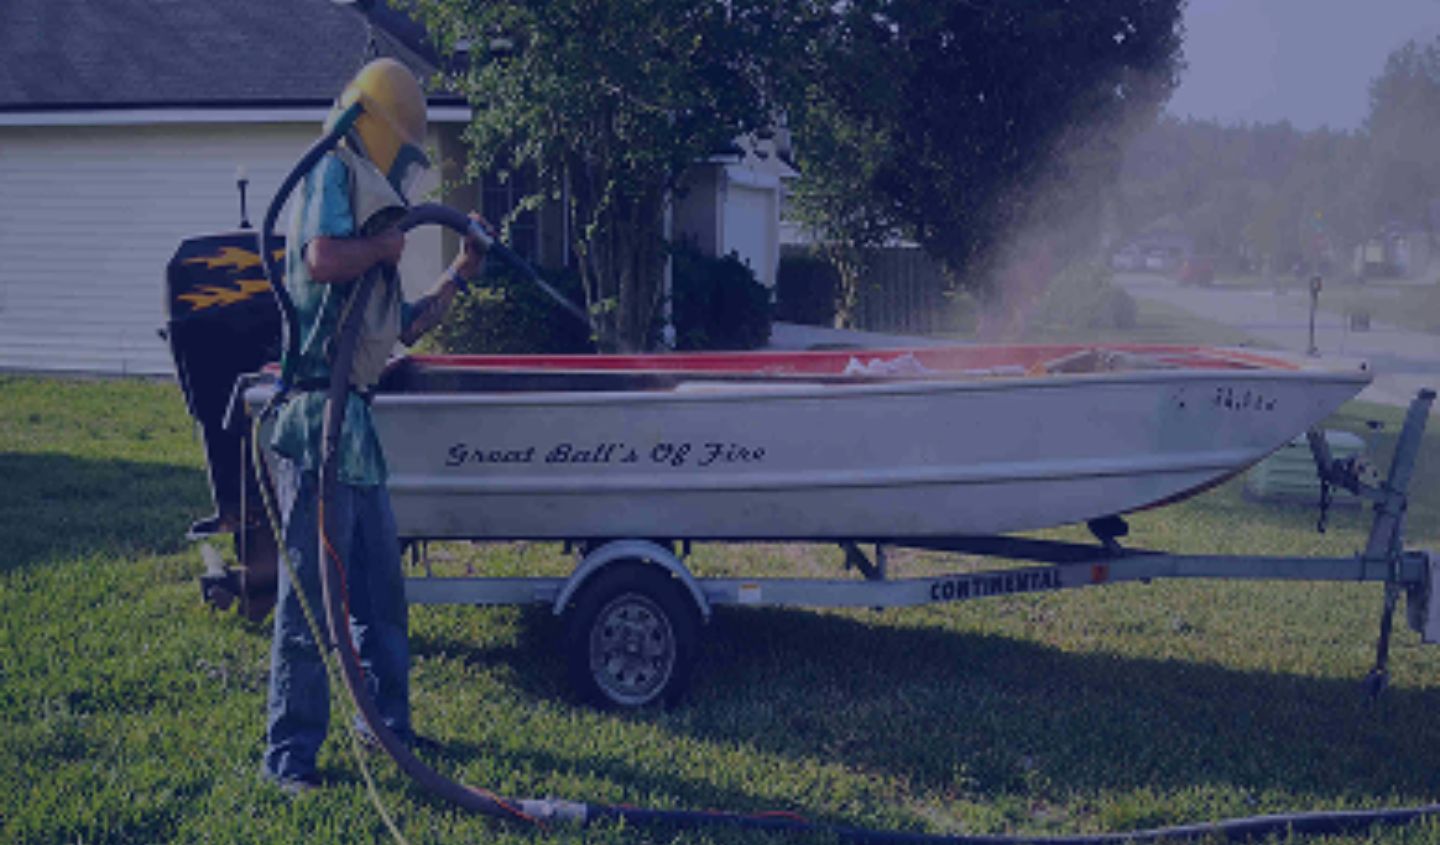
Your stock trailer has been parked at the edge of the pasture for three summers. The floor is flaking, the fenders are orange, and the paint on the tongue is coming off in sheets. You can see the frame is still sound, so the question is whether to scrap it or save it. Trailer restoration sandblasting is how most Gainesville owners save it, and doing it in the right order is the difference between a trailer that lasts another fifteen years and one that rusts through its new paint by next spring.
Here is the short answer. Strip it to bare metal, check every weld and cross-member, prime the same day, then topcoat. Skip any one of those and you are paying twice. The rest of this post walks through how a utility, stock, or flatbed trailer actually gets restored, step by step, from our side of the blast hood in Alachua County.
Why Trailer Restoration Sandblasting Beats Grinding and Chemical Strippers
A trailer is the worst-case surface. It has tube steel, angle iron, diamond plate, leaf spring hangers, welded gussets, and a hundred tight corners where water sits. A flap wheel or wire cup can only reach what it can see. Chemical stripper loves flat panels and hates seams, because it wicks into the lap joints and leaks out later under fresh paint.
Blasting reaches into all of it. Abrasive hits the inside corner of a gusset the same way it hits the open face of a fender. That matters because rust on a trailer almost never starts where you can see it. It starts underneath the deck, inside the box tube, and behind the spring hangers, then works outward. If you only treat the visible rust, you are painting over a problem that is still growing.
Our metal sandblasting work on trailers is mostly about reaching those hidden spots and leaving a clean, even profile that primer can actually grab. Profile is the microscopic texture the blast leaves on the steel. Too smooth and primer peels. Too rough and it eats coating. We pick the media to hit the middle.
Step 1: Look Before You Blast
Before anything gets blasted, walk the trailer with the owner. We are looking for three things: thin metal, cracked welds, and parts that should be replaced instead of restored. Blasting does not hide bad steel. It reveals it. A fender that looks fine under old paint can have a hole the size of a quarter once the scale is gone.
Here is the honest part most shops skip. If the main rails are rotted through or the axle is bent, we will tell you to stop. A new frame will cost less than patching a dead one, and we would rather lose the job than blast a trailer that is not worth saving. If a wire brush and a Saturday will do the job on a small utility trailer, we will tell you that too.
Take off what you can. Lights, wiring harnesses, rubber gaskets, license plate brackets, and any wood decking come off before the rig arrives or the day it does. Plastic and rubber do not survive abrasive, and old wiring is cheaper to replace than to repair.
Step 2: Choose the Right Blasting Method
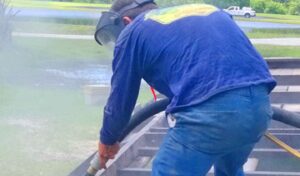
Most trailers fall into one of two camps. A heavily rusted flatbed or stock trailer with thick scale and old multi-layer paint wants a dry abrasive blast. It is fast, it cuts mill scale and rust cleanly, and it leaves a consistent profile. For a trailer that sits near a barn, a house, or a neighbor’s fence, we may suggest dustless blasting instead, because the water in the stream keeps airborne dust down.
Dustless is not magic, and we will say so. It leaves a wet slurry that has to be cleaned up, and bare steel blasted wet starts flash rusting almost immediately in Florida humidity. We use inhibitors and plan the coating schedule around it. Dry blasting skips the water problem but throws dust, so it needs more containment. We pick based on where the trailer sits, not on what is easier for us.
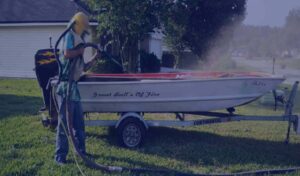
Because we come to you, a trailer that has not moved in years does not have to be hauled anywhere. The rig comes to the pasture, the barn lot, or the side of the driveway. That matters in the Newberry and Alachua corridor, where plenty of trailers are parked on farm ground and getting them onto a highway is a project of its own.
Step 3: Deal With the Spots That Always Cause Trouble
Every trailer has the same trouble spots. Knowing them ahead of time saves surprises.
Floor and cross-members. Stock trailer floors take manure, urine, and water, which is a perfect recipe for pitting. After blasting, we look at every pit. Shallow pitting can be coated. Deep pitting means the metal is thin and the floor needs plating or replacement. Better to find that out before paint than after a horse steps through.
Spring hangers and axle perches. These carry the load. Rust here can hide cracks. We blast them clean so the owner or a trailer shop can inspect the steel, then coat them hard.
Inside box tube and lap joints. Water gets in through weld gaps and cannot get out. We blast what we can reach, and for the tubes we cannot, we recommend a weep hole or an interior coating so the moisture has somewhere to go.
Galvanized sections. Some trailers are galvanized and some are only painted to look that way. If the zinc is intact and the owner wants to keep it, we tell you honestly that blasting will remove it. A light brush blast can profile it for paint without taking all of it off, but that is a judgment call on the job site.
Wood decking and rails. If your trailer has a wood deck, that is a different surface with different rules. Our wood sandblasting work is where that goes, and we usually recommend keeping the wood and the steel as separate jobs.
Step 4: Prime the Same Day
This is the step that decides everything. Bare steel in Gainesville starts flash rusting within hours, sometimes before supper on a humid afternoon. Flash rust is the thin orange haze that appears on freshly blasted metal. A light haze is usually acceptable under certain primers. A heavy haze that has had time to bloom is not, and it means you are painting over rust again.
The fix is simple: do not leave the trailer bare overnight. Blast in the morning, prime in the afternoon. If rain is coming, we reschedule rather than gamble. North Florida summer storms show up fast, and a trailer that gets rained on between blasting and priming has to be touched up or re-blasted.
The standards behind this are not our invention. The Society for Protective Coatings publishes surface preparation grades that describe how clean steel has to be before a coating goes on. You can read more at SSPC. For a trailer, a commercial or near-white finish is usually the target, depending on the coating system you choose.
Step 5: Pick a Coating That Fits How You Use the Trailer
A horse trailer and a landscaping trailer do not need the same paint. Livestock trailers take corrosive abuse on the floor and lower walls, so a tough epoxy primer with a urethane topcoat is a common pairing. A utility trailer that hauls mowers and mulch needs abrasion resistance and UV protection more than chemical resistance. A flatbed that sits outside year round needs a topcoat that does not chalk under Florida sun.
Because we blast and coat, the same crew who stripped the steel applies the primer while it is still clean. That is the real advantage of keeping both steps with one team. No finger-pointing between the blaster and the painter, and no gap where rust can sneak in. If you want a custom color or a different finish, our painting services handle the topcoat.
Safety and Old Paint: What You Should Know
Older trailers can carry old coatings that contain lead or chromates. If your trailer was built decades ago and has never been repainted, assume the paint could be hazardous until tested. Blasting old coatings creates dust that is dangerous to breathe, and containment and cleanup rules apply. The federal guidance on abrasive blasting safety from OSHA is worth reading if you plan to do any of this yourself. For most owners, handing it to a crew with the right gear is the safer call.
Should You Restore It or Replace It?
Use a simple rule. If the frame rails, tongue, and axle are straight and the steel is not paper thin, restoration almost always makes sense. You keep a trailer you already know, with a title and tags that are paid up, and you end up with a clean, coated machine. If the structure is compromised, no amount of blasting fixes that.
Ask yourself three questions. Is the metal solid after blasting? Do you want to keep the trailer for years, not months? Can the trailer sit still for a day or two while the work happens? If you can answer yes to all three, restoring it is a good bet.
What to Expect When We Show Up
We start with a free walkaround, look at the condition, and tell you straight what the job needs. On the day, the rig sets up near the trailer, we mask or remove anything that should not be hit, and we blast section by section. Once the steel is clean, we inspect together, then prime. Most single-axle utility trailers finish in a day. Larger stock and gooseneck trailers take longer, and we will give you a realistic timeline up front.
You will not be talking to a call center. You will be talking to the person who runs the nozzle.
Ready to Save That Trailer?
A good restoration turns a pasture ornament into a working trailer again. Do the inspection first, blast to clean metal, prime before the humidity gets to it, and choose a coating that matches the way you actually use the trailer. If you have one sitting out there right now, send us a photo or reach out through our contact page and we will tell you whether it is worth saving.
Need sandblasting in Gainesville or nearby? Call (352) 663-1129 for a free on-site estimate. You will reach someone who actually does the work.